
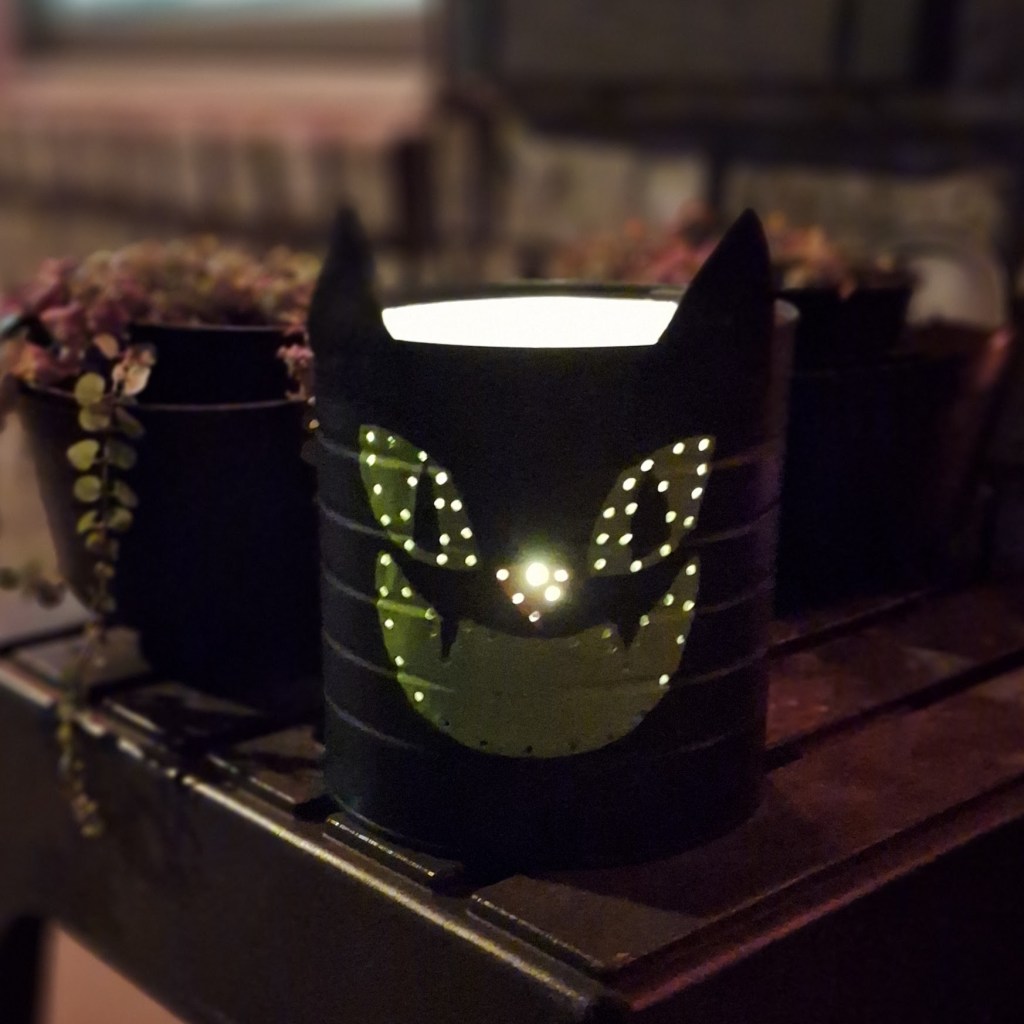
Add a touch of mischief to your porch with this glowing cat luminary made from an upcycled coffee can!
It’s Spooky Season! Which means it’s decorating time and branching out from my usual fiber arts. And, let’s be real, turning trash into spooky DIY treasures is way more fun than buying flimsy plastic from the store. Plus, you get something no one else has on their porch!
This week’s victim: an empty coffee can. By the end of this project, it’ll be a black cat with a glowing goblin grin ready to spookify your porch. It’s easy and budget-friendly, using mostly upcycled bits, a couple of cheap craft paints, and some primer.
Materials Needed
- Coffee can (metal or plastic)
- Cat face template (free download)
- Chalk or pencil
- Awl or large nail + hammer
- Spray primer
- Black, white, lime/yellow-green, and pink craft paint
- Optional varnish/top coat
- Black felt or construction paper (for ears)
- Glue gun
Instructions
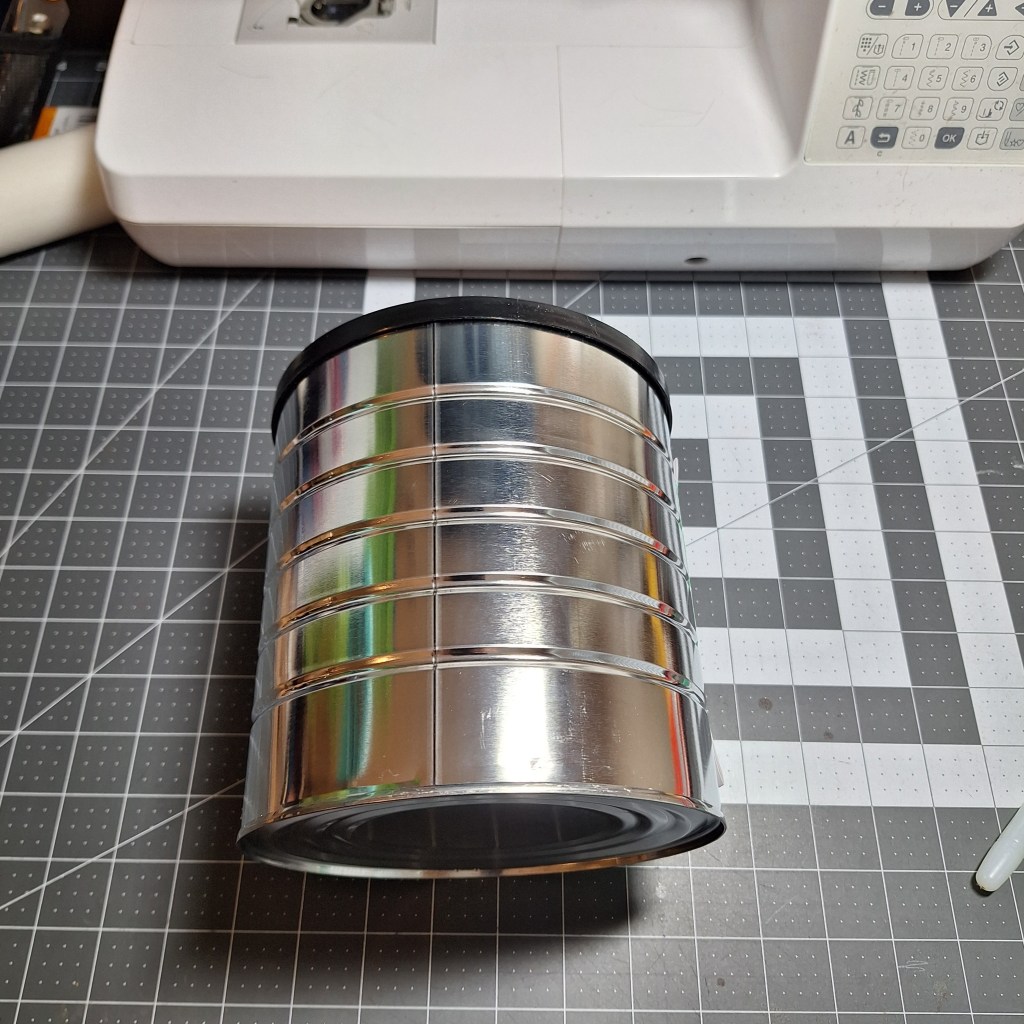
1. Clean the Can
Remove labels and sticky residue (Goo-Gone works great), then wash thoroughly so the paint sticks.
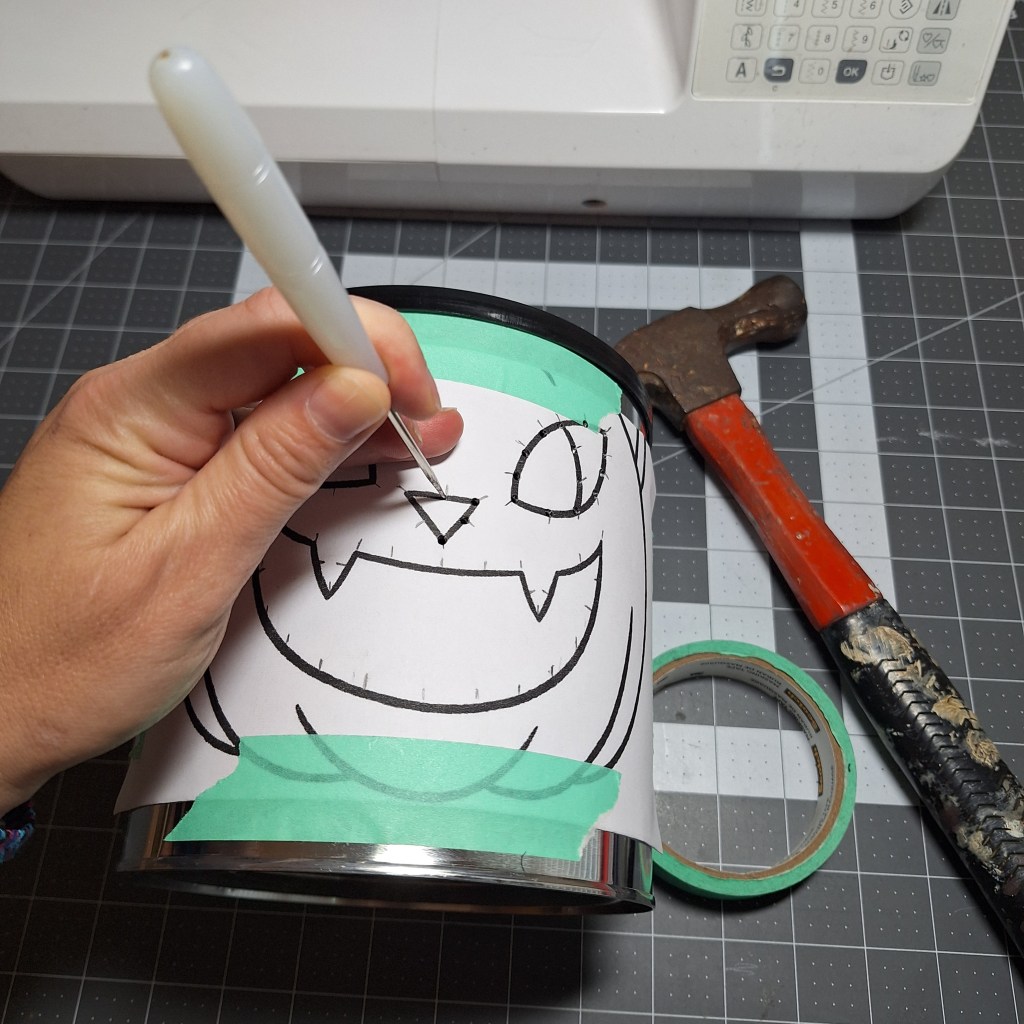
2. Punch the Holes
Yes, you want to do this before painting, otherwise, the paint will crack. Tape the template (free download here) to your can and punch through the dots with your awl or nail.
Optional hack: Fill the can with water, freeze overnight, then punch. It helps keep the can’s shape.
⚠️ Metal edges will be sharp, so mind those fingers.
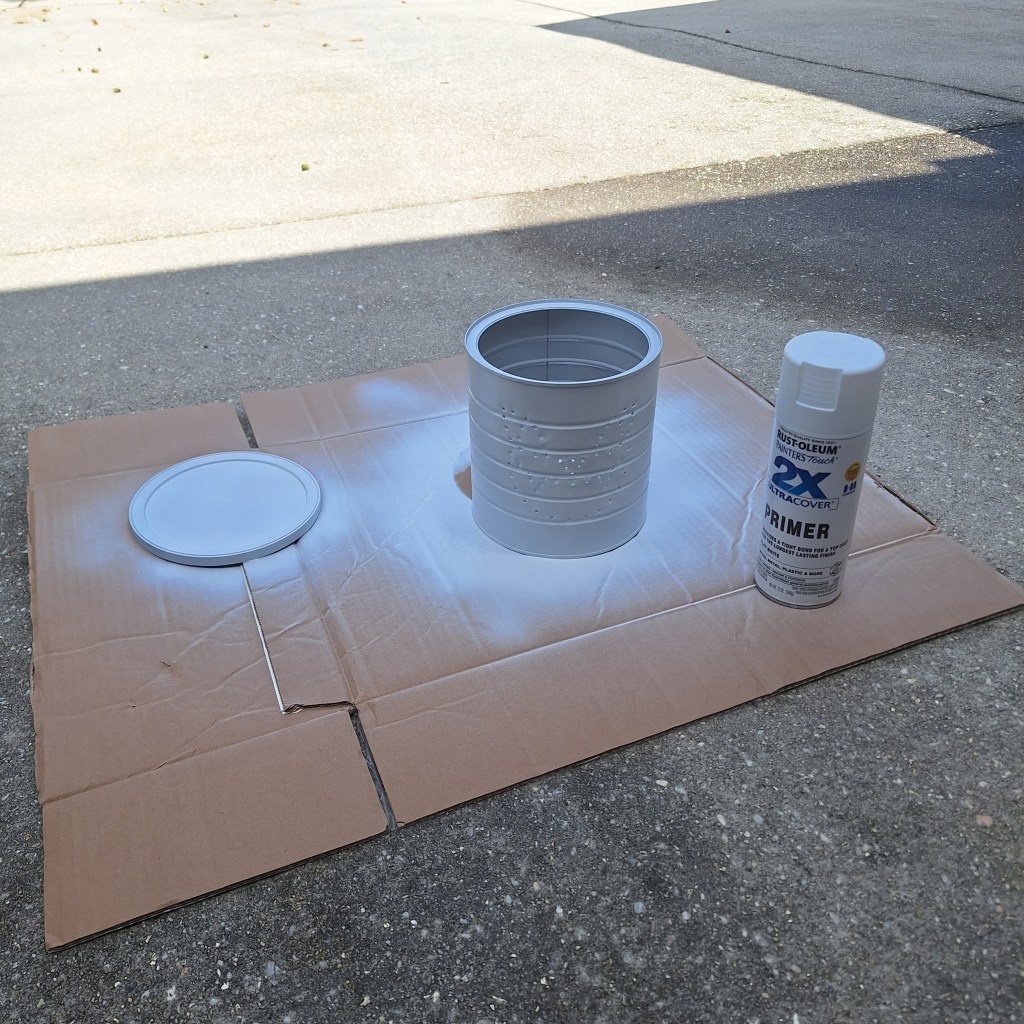
3. Prime It
Spray primer helps paint stick. Black primer lets you skip the next step entirely. Let it dry fully.
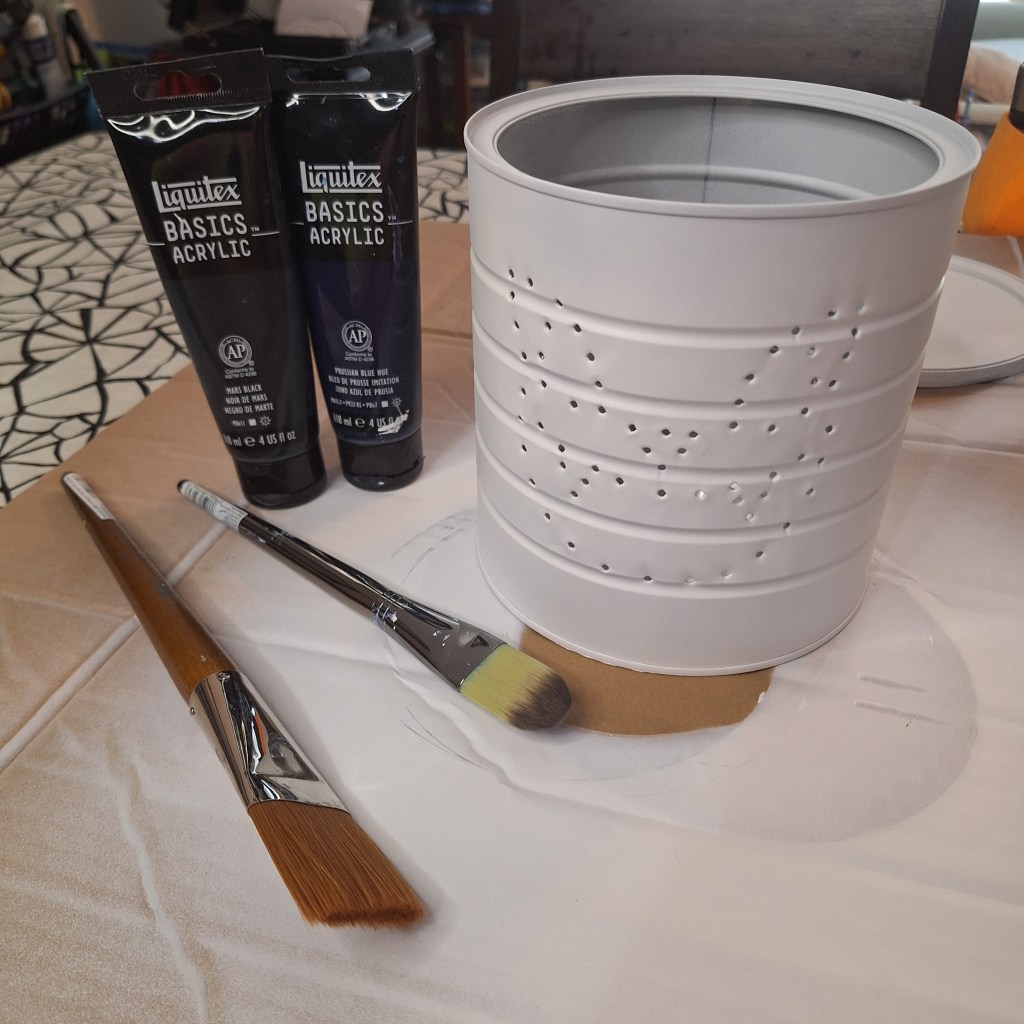
4. Paint the Base
Paint the whole can black. Honestly, cheap craft paint works better than fancy artist paints here. (Ask me how I know.) Wait until fully dry for next step.
BUT I DON’T WANNA WAIT!
Well then grab a hair dryer, set it to medium or low and blast until paint is no longer tacky to the touch.
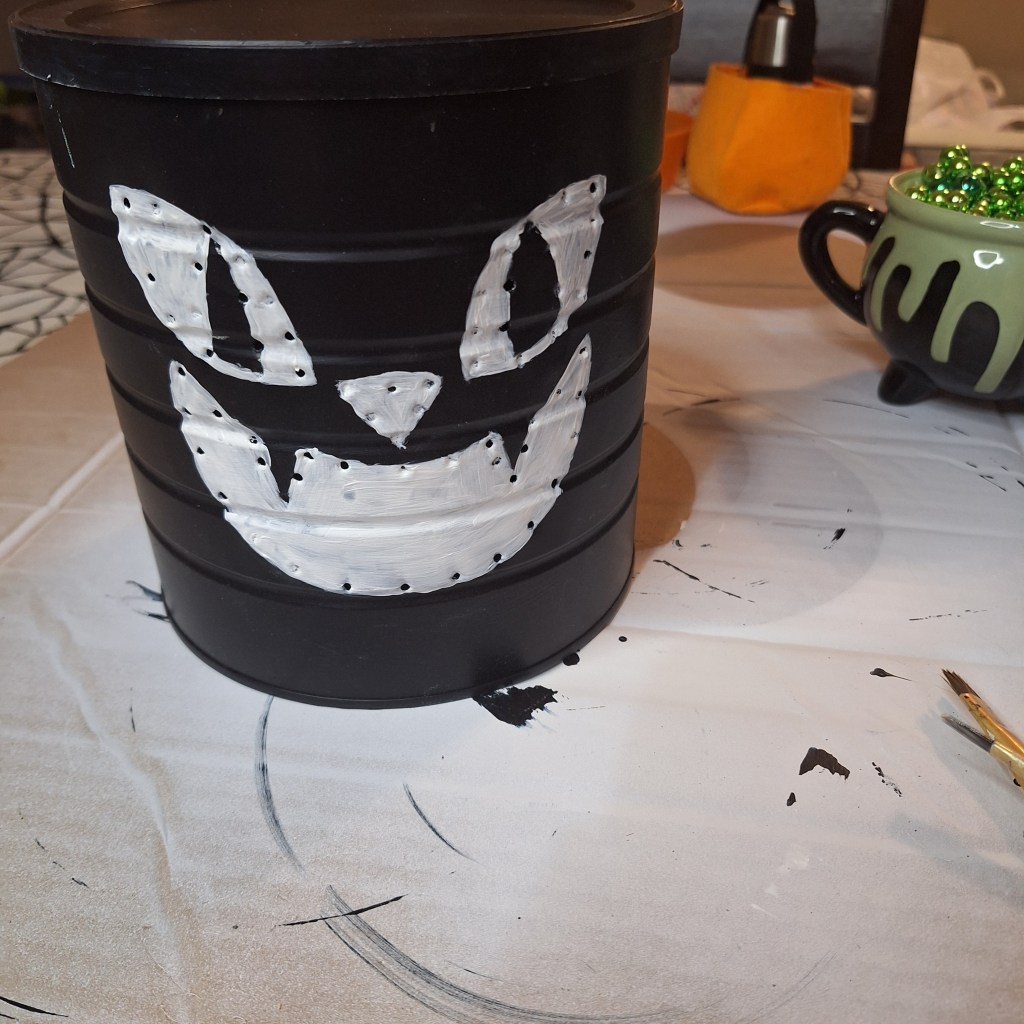
5. Sketch the Cat Face
Trace around the punched holes with chalk or pencil. Make your lines just outside the punched holes. I freehanded mine, but transfer paper works too.
Note: That red plastic thing in the pictures is a chalk pencil holder for sewing. They are SUPER handy for sewing, painting, and crafting in general.

6. Paint in White
Yes, white first! It will make your colors pop against the black background. Let dry or hair dryer magic again.
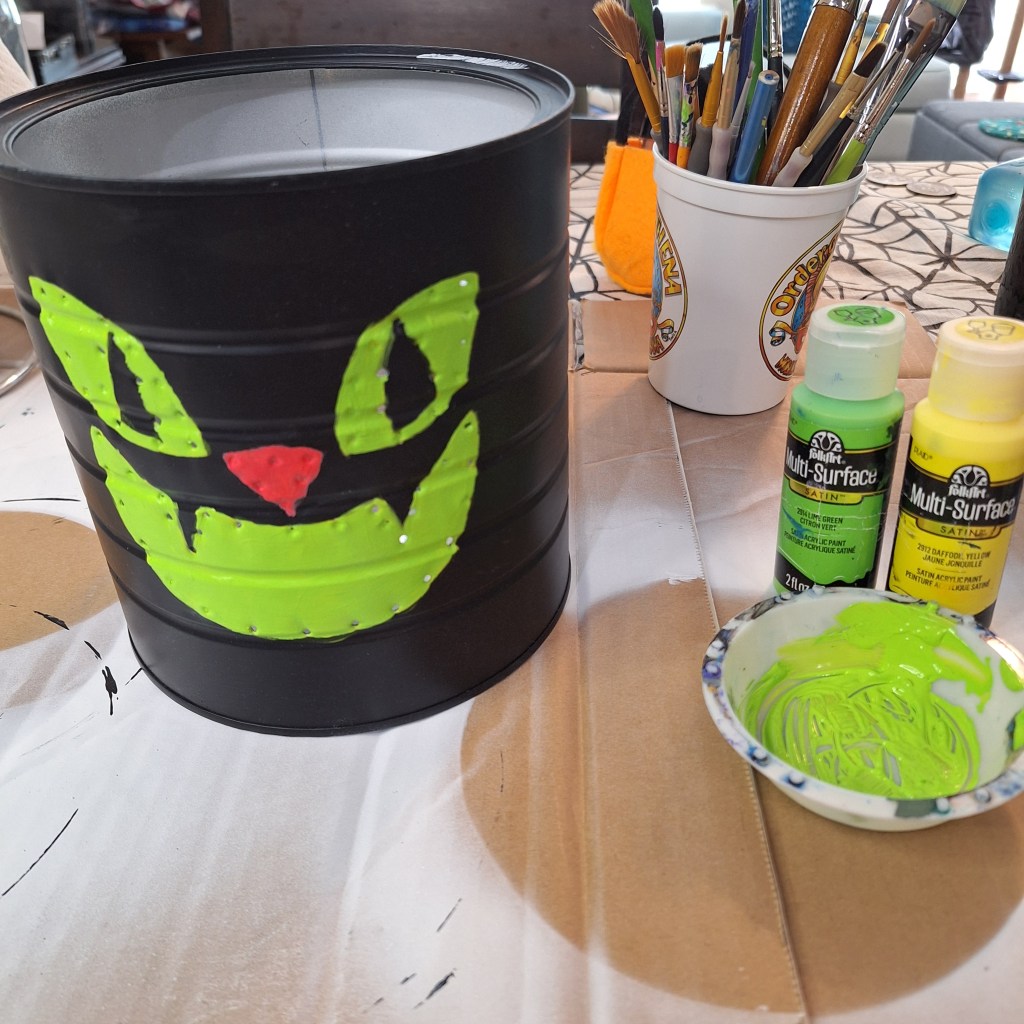
7. Add Color
Fill in the eyes and mouth with lime/yellow-green, and the nose with pink.
If you like my colors, they’re Folk Art Pink Melon for the nose and a half and half mix of Lime Green and Daffodil yellow for the eyes and mouth.
Two coats usually give the best coverage
8. Varnish (Optional)
A clear coat will protect your masterpiece from scratches and storage scuffs. Matte or glossy? Follow your heart. I used some matte varnish from my acrylic painting stash, but any cheap spray works just fine. You could even use Modge Podge if that’s what you have on hand.
9. Re-open the Holes
The holes are probably paint clogged now, but it’s no big deal! Just grab your awl or nail, push it through each hole, and circle it around to open them back up.
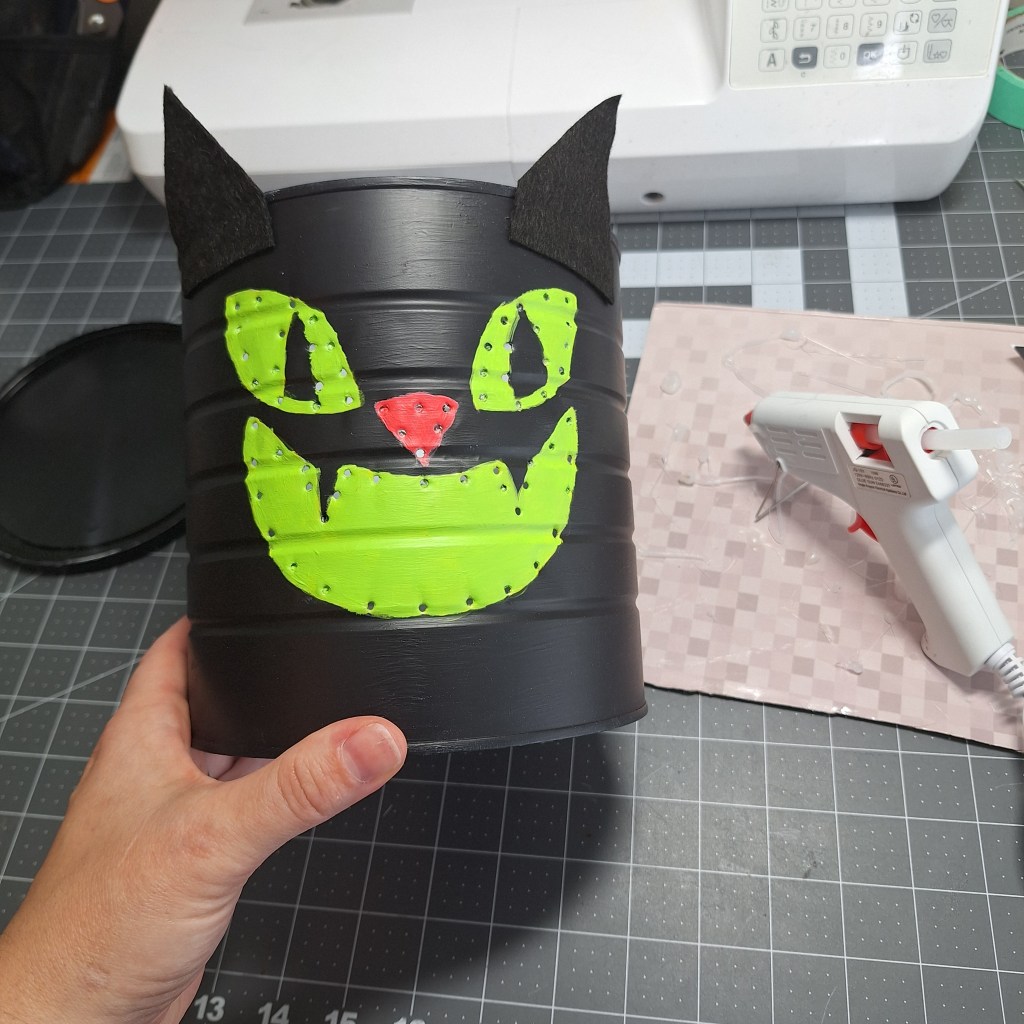
10. Add the Ears
Cut felt or paper ears, then hot glue them centered above the top point of each eye.
11. Light It Up
Pop in an LED candle and let your mischievous little cat grin out at the world.
Now, go make lots of cute glowing cat faces or get creative and draw your own pumpkin faces, skulls, bats, witch hats etc. Whatever you choose, just share pics so we can all enjoy!


Leave a reply to Mireya Cancel reply