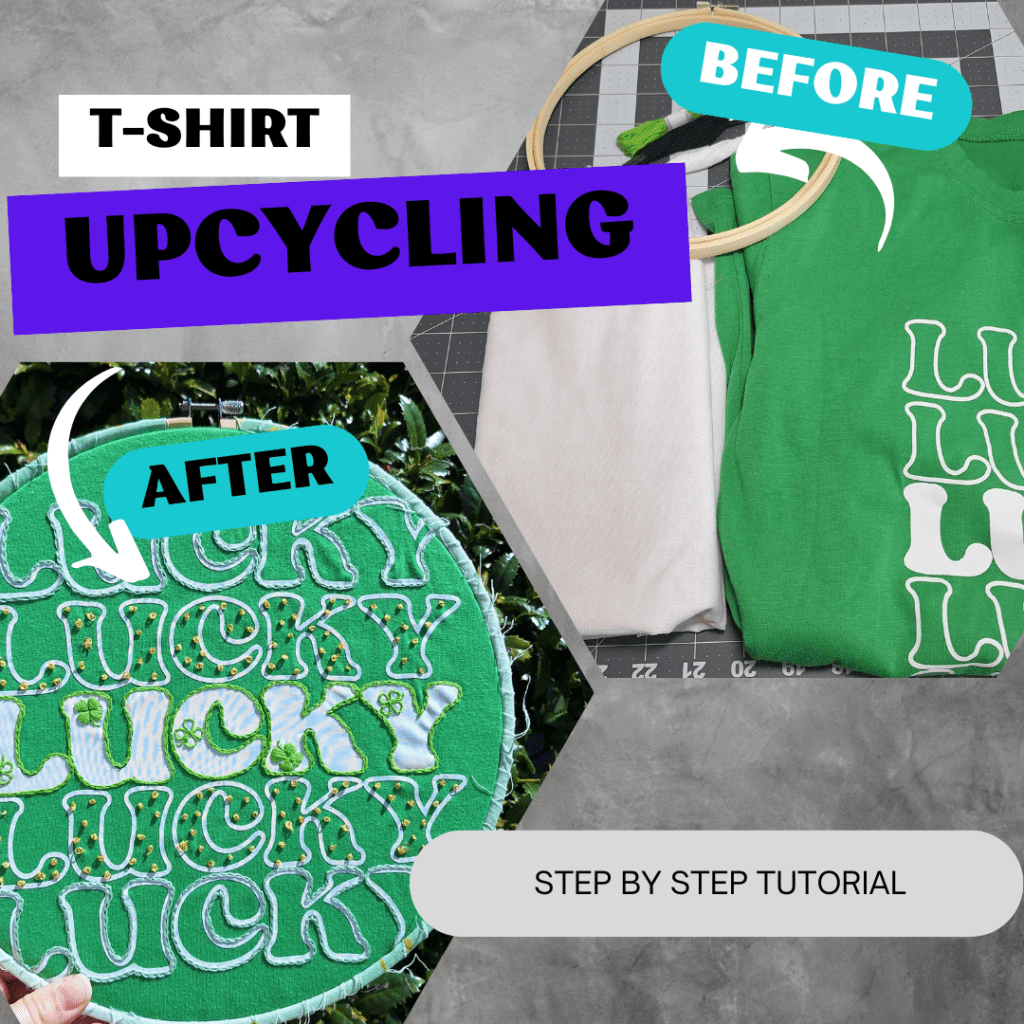
I have a fun upcycling project for you today! We’re going to take a t-shirt and embellish it with embroidery to turn it into home decor. This is a great way to repurpose a favorite t-shirt that no longer fits, has a stain or tear, or holds sentimental value—like a child’s school or activity shirt that you just can’t part with.
In my case, I found a cool St. Patrick’s Day t-shirt at a thrift store that wasn’t my size, but I realized I could transform it into a piece of holiday decor instead of sadly putting it back on the rack. So, here’s what you’ll need:
Materials Needed:
- A t-shirt
- Fabric stabilizer (I used SF101)
- Embroidery hoop (size appropriate for the design)
- Embroidery floss in coordinating colors
- Chalk, Frixion pen, or other erasable/disappearing pen
- Fabric glue or hot glue gun
- Felt for backing the hoop
- ⅛ yard of coordinating fabric to wrap the hoop (optional, but highly recommended for that extra touch!)
- Fabric clips or binder clips (optional, but helpful if you’re using fabric glue)

Have you collected all your materials? Awesome, let’s get started!
Step 1: Prep the T-shirt
- Trim the t-shirt into a rectangle-ish shape, removing the collar, sleeves, and back. The exact shape isn’t critical here, but leave as much excess fabric around the design as possible to allow for proper hooping.
- Take a moment to plan your layout—sometimes, parts of the design get cut off depending on hoop size. If that happens, don’t stress! You can get creative with how you position it, or consider turning it into a pillow or quilted wall hanging (which I’ll cover in future tutorials!).

Step 2: Affix Stabilizer to the Back of the T-shirt Panel
Since t-shirts are stretchy, stabilizing the fabric is crucial for embroidery unless you want a warped, wobbly mess. I used SF101 because I already had it on hand for making t-shirt quilts, and it does a great job of preventing distortion.
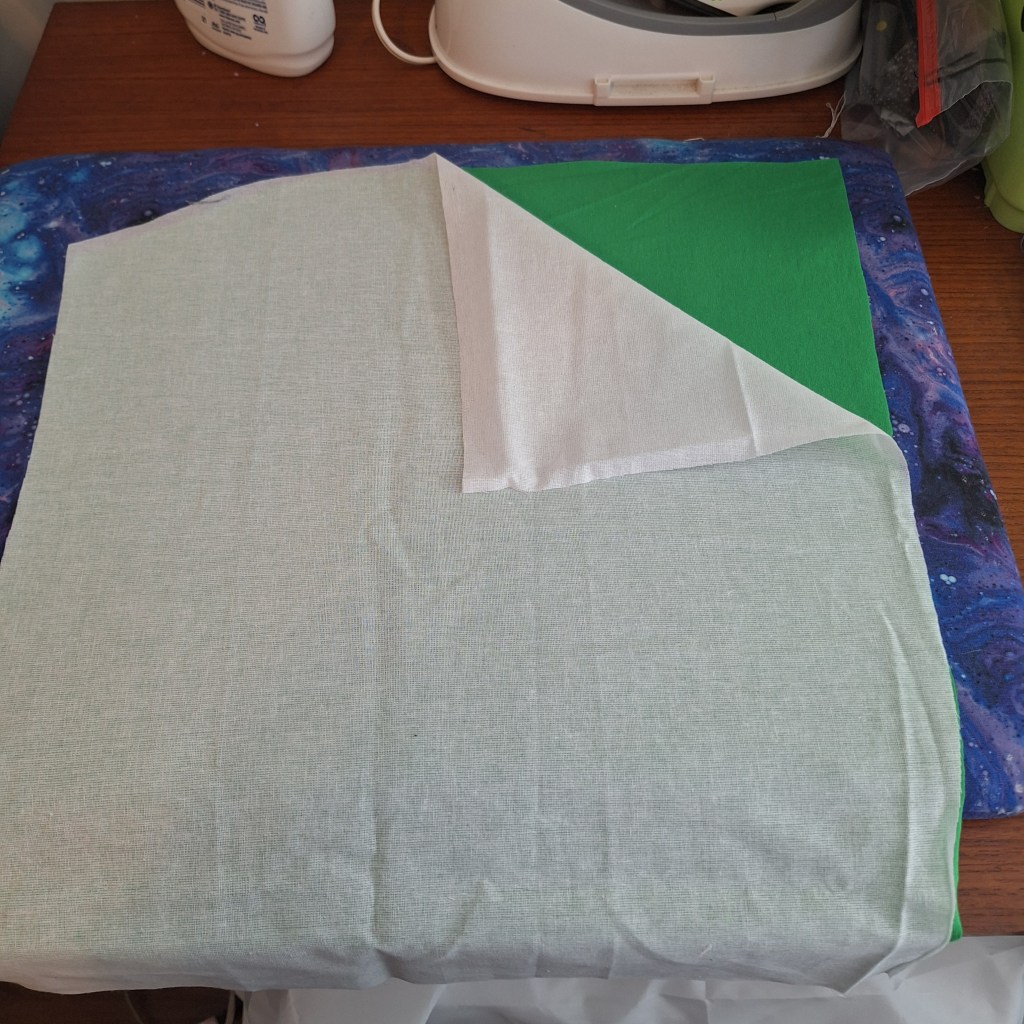
- Cut a piece of SF101 to match the t-shirt panel, with the adhesive (bumpy) side facing the back of the t-shirt.
- Place the t-shirt right-side down on an ironing board, then place the stabilizer adhesive-side down on top.
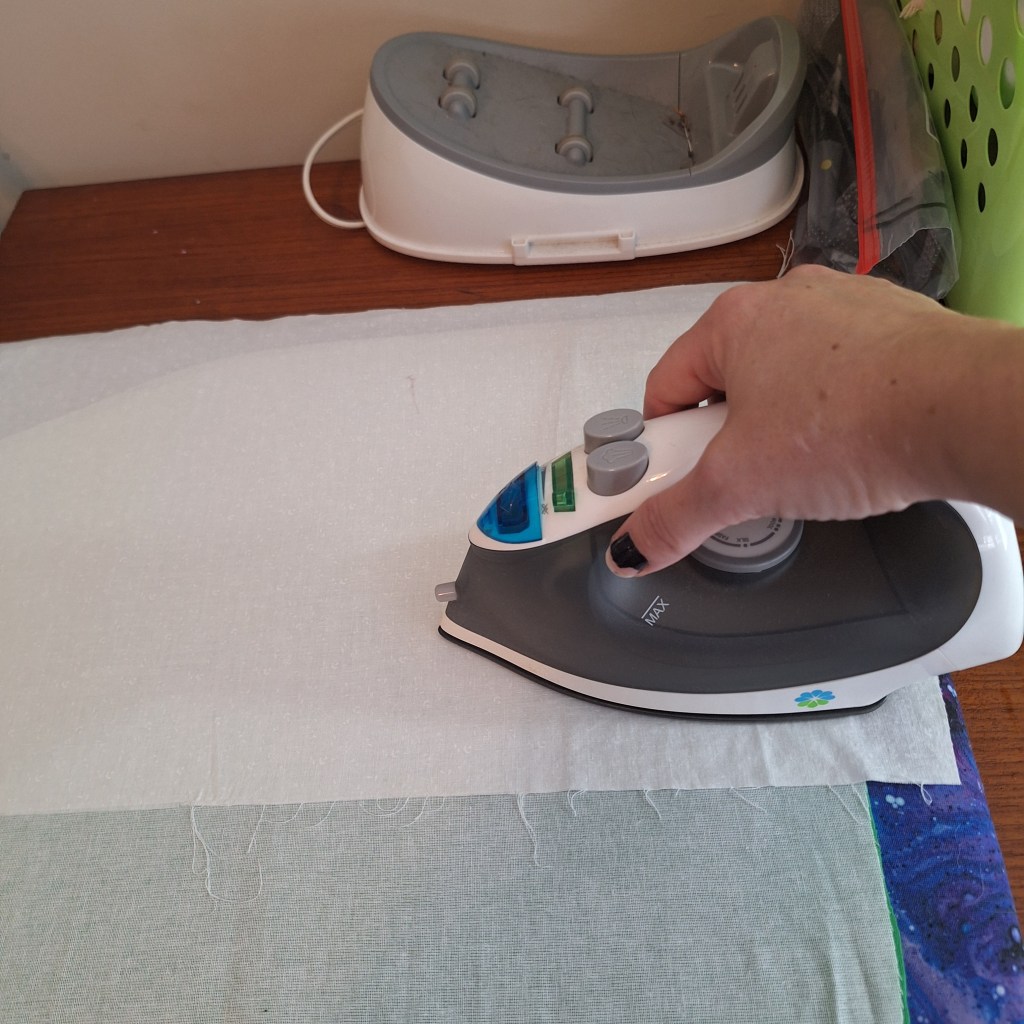
- Use a pressing cloth on top and mist it with water. This helps distribute the heat evenly! You don’t need a special piece of fabric for this, any plain cotton fabric, will do.
- With a medium-heat iron, move in circular motions over the cloth until fully dry (about 20 seconds per section). I found this technique years ago for t-shirt quilts, and it works like a charm!

Now, you’re ready to embroider!
Step 3: Embroider the T-shirt Panel
This is where the fun begins! Hoop your stabilized t-shirt panel and start stitching.
- Use chalk or an erasable marker to mark the center and horizontal/vertical guidelines to help with alignment.
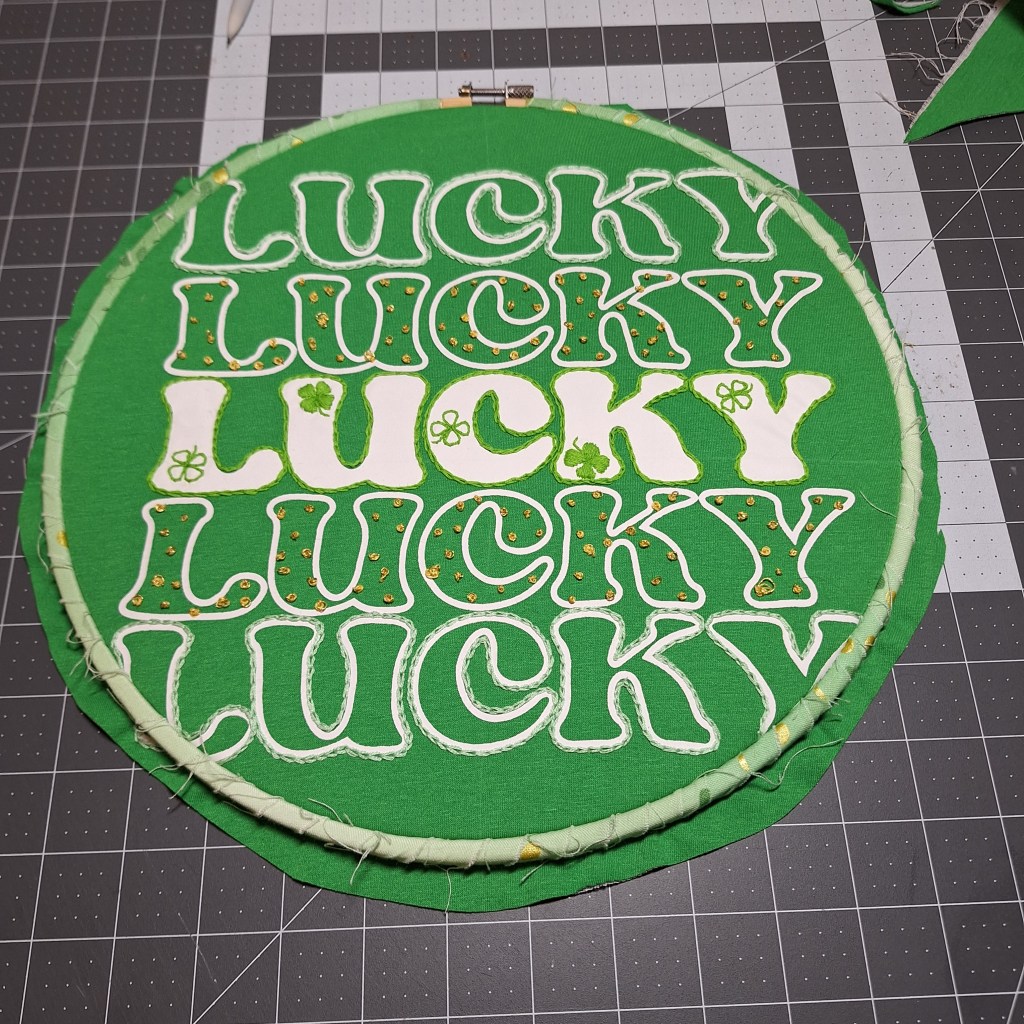
- If you’re a beginner, outlining the main design elements in coordinating colors is an easy and effective way to add detail. I outlined the lettering of my Lucky t-shirt with a chain stitch, but you could also use backstitch, split stitch, or stem stitch.
- I also threw in some randomly placed French knots as polka dots—because why not?
- Plan your design ahead of time! T-shirt fabric is more delicate than typical embroidery cotton and can develop runs if you make holes. If you need to remove stitches, do so very carefully to avoid ruining your fabric. (Ask me how I know… sigh.)

Once you’re happy with your embellishments, it’s time to finish the project!
Step 4: Finishing the Embroidered T-shirt
At this stage, your embroidered panel can be used for various projects—pillows, quilted banners, or even as part of a t-shirt quilt. But since I want this tutorial to be beginner-friendly, we’re keeping it simple and finishing it in the hoop—with a little extra flair.
Wrapping the Hoop (Optional but Cute!)
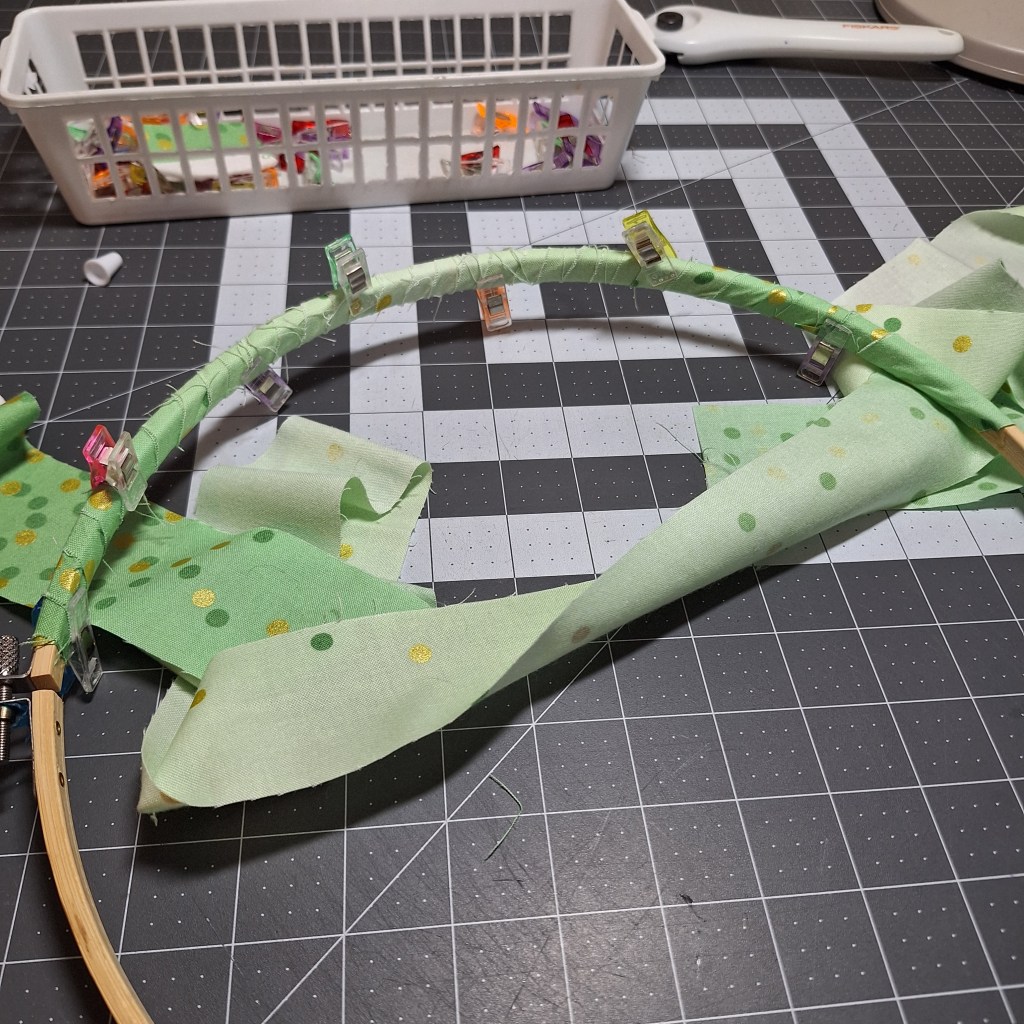
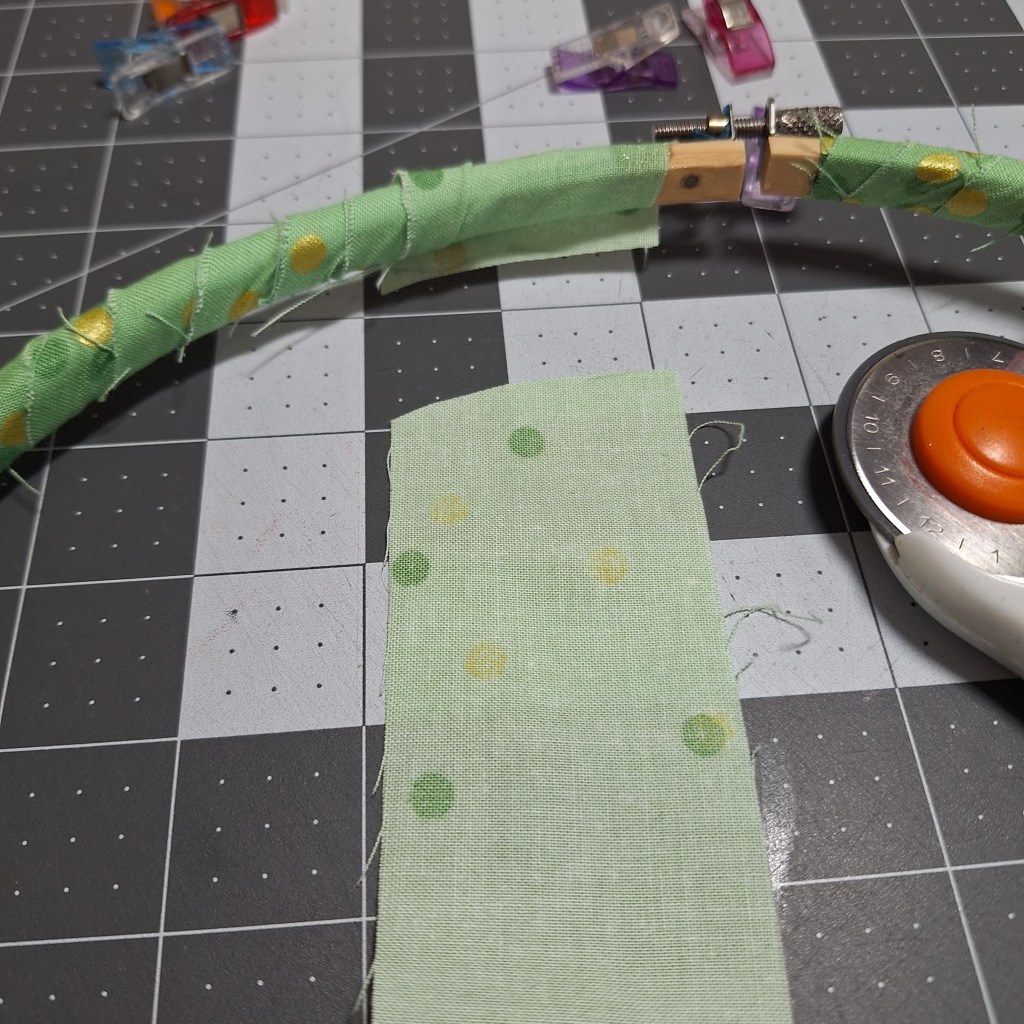
- Cut three or four 2-inch-wide fabric strips across the width of your fabric.
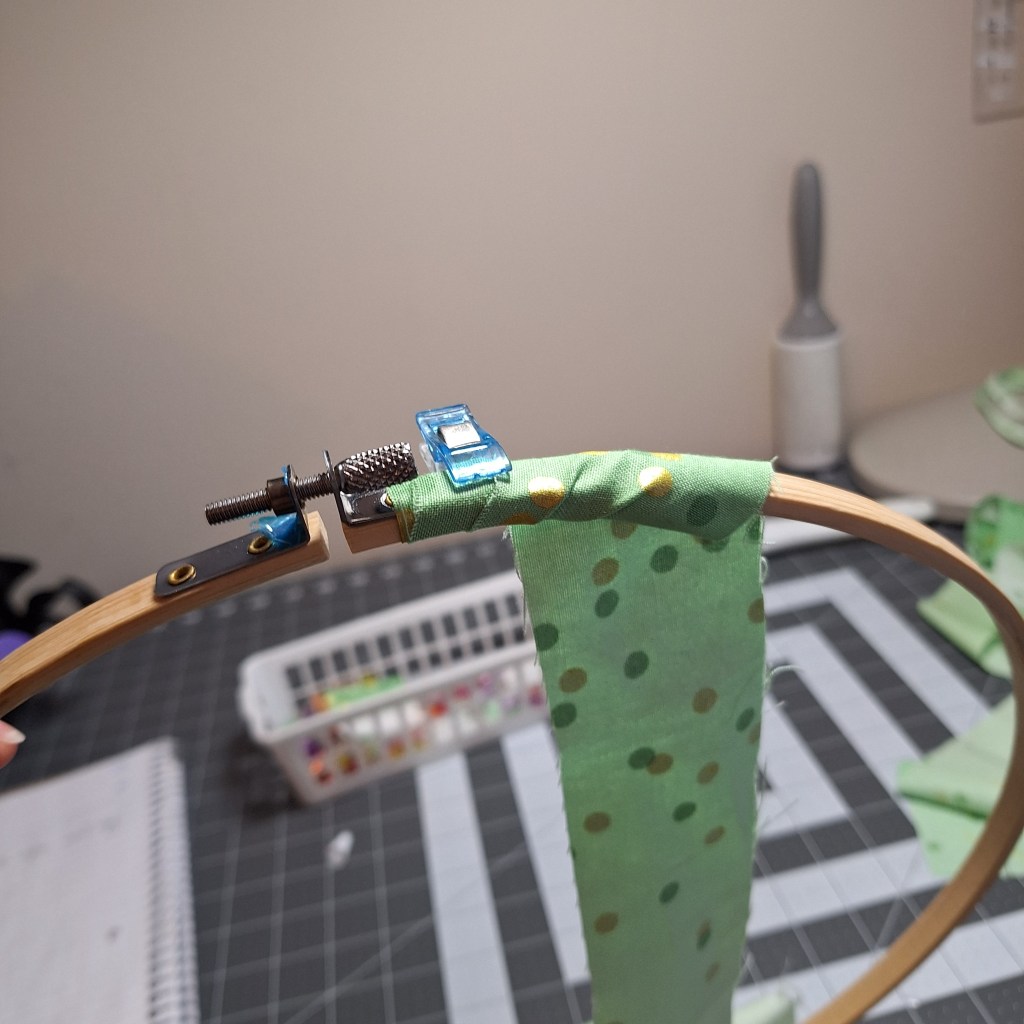
- In 2-3 inch sections, apply fabric glue to the inner and outer edges of the hoop.
- Wrap the fabric tightly around the hoop in a spiral until fully covered.
- Use fabric clips to hold it in place while drying if needed (especially for fabric glue, which takes 2-4 hours to set). If using hot glue, I recommend only applying it to the inner hoop to avoid excess bulk, which will make rehooping the shirt … uh… not fun.
- I just left the edges of the fabric rough for a fun fringy look. You can also use pinking shears. OR- Take the time to iron the strips in half, lengthwise. Then wrap so that your visible edge is always the folded edge for a more polished look.

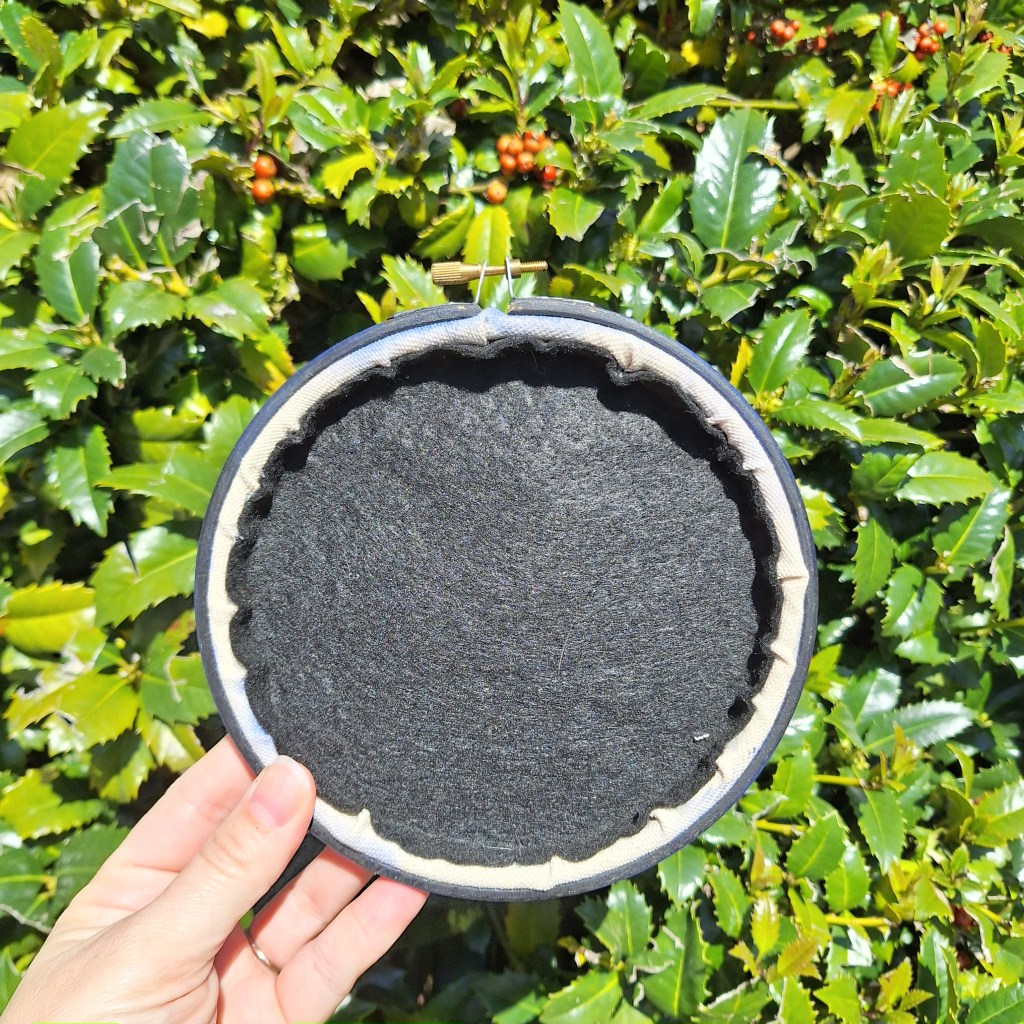
Backing the Hoop
- Cut a piece of felt the same size as the inner hoop.
- Re-hoop the t-shirt panel.
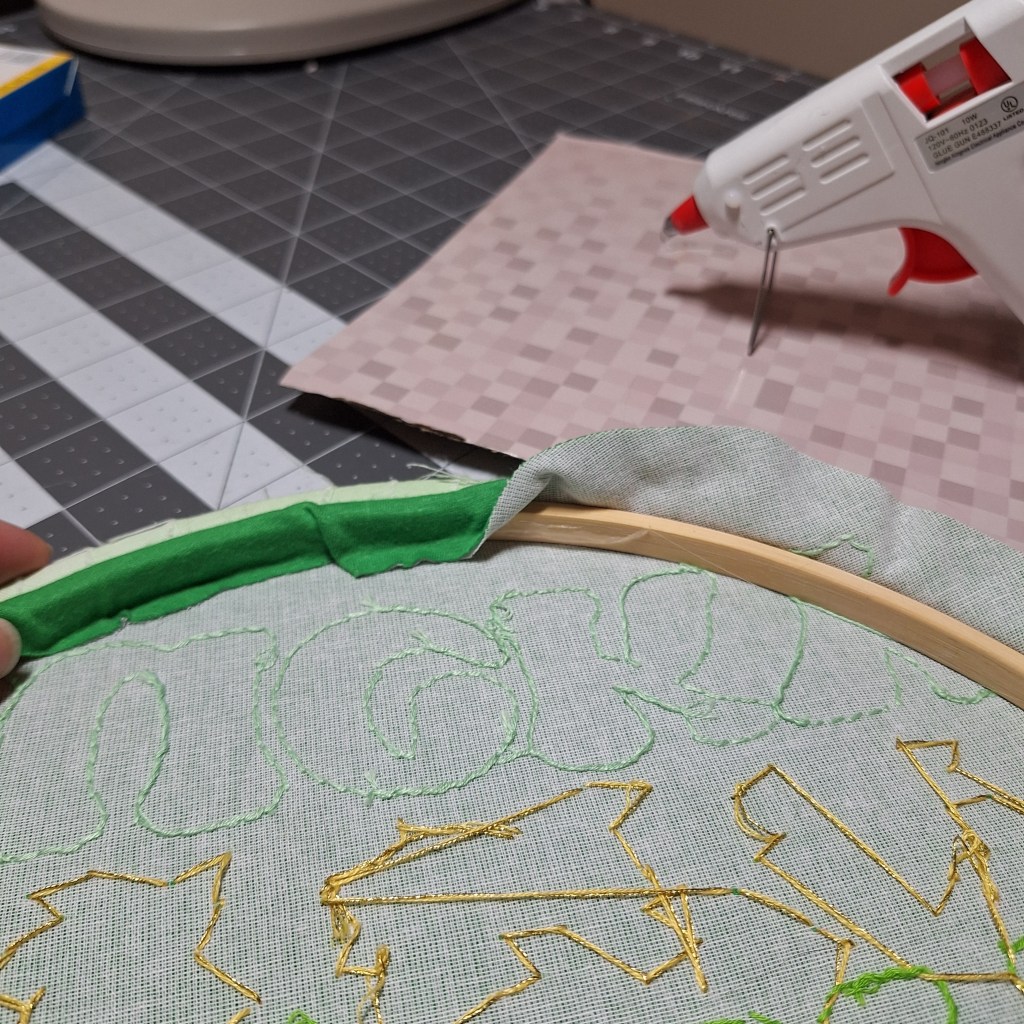
- Trim excess t-shirt fabric, leaving about ½ inch around the outer hoop.
- Use a hot glue gun to secure the loose fabric to the inner hoop.
- Press the felt into the back, aligning it with the inner hoop, and glue it down carefully. Avoid getting glue on the front panel.
(There are other methods for finishing the back of the hoop, but this one is simple, quick, and doesn’t require any sewing. Win-win!)
And You’re Done!
That’s it—you’ve upcycled an old t-shirt into a fun piece of home decor or memorabilia! Hang it up, gift it to a friend, or just admire your handiwork.
Stay tuned for more beginner embroidery tutorials—especially if you’d like to see other ways to upcycle t-shirts!


Leave a comment