
Combining Embroidery and Acrylic Paints
Last year, I started painting with acrylics and almost immediately thought, I need to add this to my embroidery!
Embroidery has been one of my favorite creative outlets for years, but sometimes plain fabric backings just don’t cut it for what I’m envisioning. Other times, I have a design in mind that’s too intricate for the time/patience/skill and skills I possess. That’s where combining paint and embroidery comes in!
There are so many ways to approach this combo. I’ve seen artists use acrylics, watercolor, pastels, and even crayons to add details or color to their embroidery pieces. Personally, I like acrylics. They’re great for bold, textured backgrounds.
Here are a few of my projects, the lessons I learned along the way, and some tips to help you try it for yourself.
TLDR: Jump to Tips
Project Highlights
“No.” – First Attempt
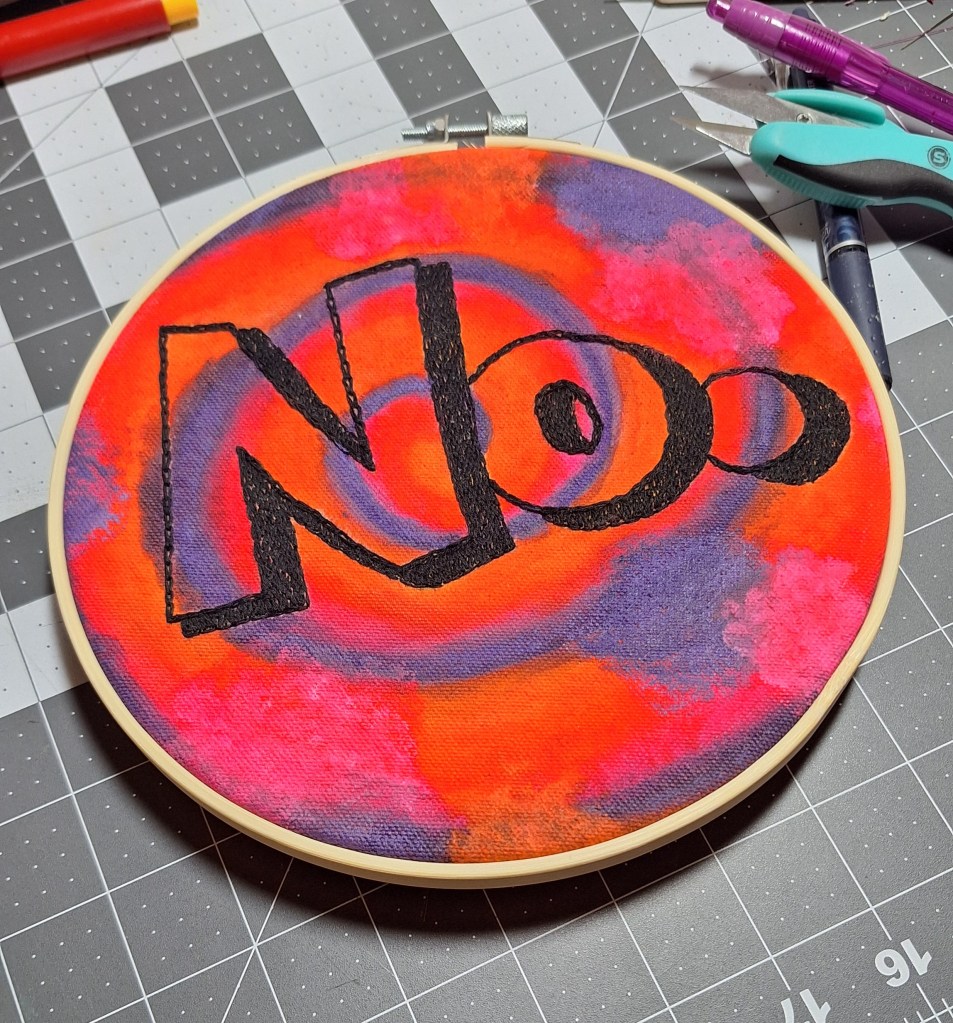
This was my first attempt at painting a background for embroidery. I used a piece of plain canvas (you can find it by the yard at any fabric store), then cut it to size with pinking shears to fit an 8” hoop. My vision was a vibrant spiral in purple, orange, and pink with bold text embroidered over it.
What I got was… well, a learning experience. I used waaaaaay too much paint trying to make the colors pop, which left the fabric stiff and a nightmare to stitch through. My fingertips hated me, but the piece was worth it. Now it hangs in my bedroom as a constant reminder that “No.” is a full sentence.
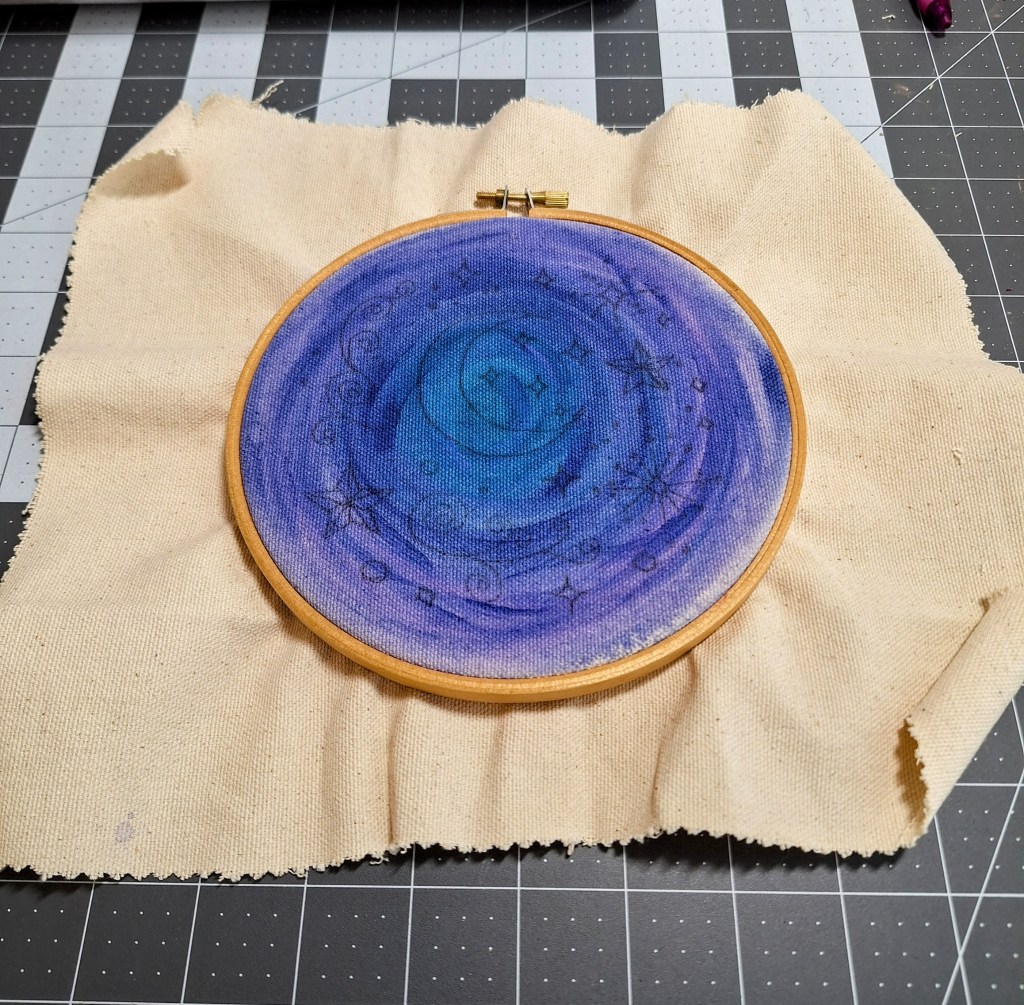
Jedi: Fallen Order Quote – Second Attempt
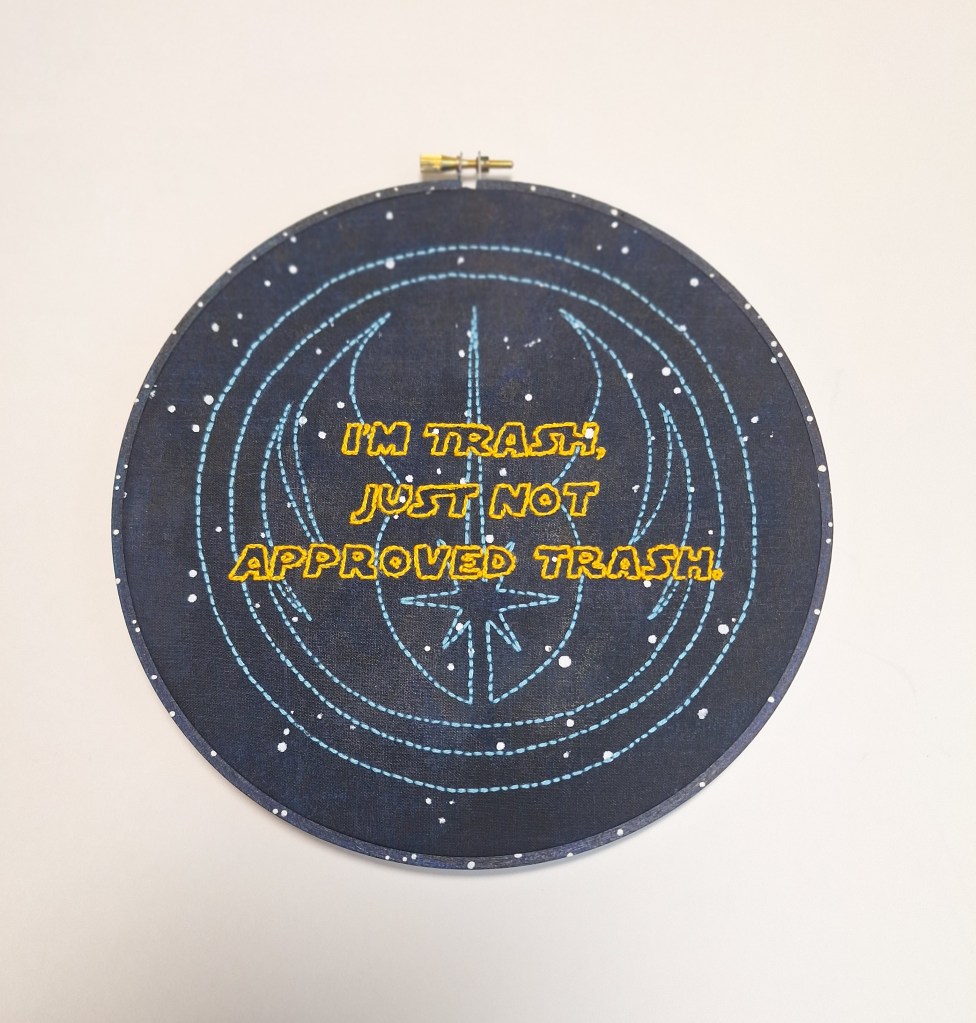
For my second project, I pulled inspiration from one of my favorite video games, Jedi: Fallen Order. (Side note: Cal Kestis is my hero, and I felt that “unapproved trash” line way too deeply.)
I started with navy quilting fabric but wanted it to resemble the iconic Star Wars hyperspace background. Using a sponge, I layered shades of blue and purple, then let it dry overnight. (The colors don’t show well in the picture, unfortunately.) To finish, I added stars with the back end of a paintbrush dipped in white paint. I even painted the hoop to match the space theme.
This piece turned out almost exactly how I imagined, and it’s one of my favorites to this day.
Soot Sprite and Konpeito – Third Attempt
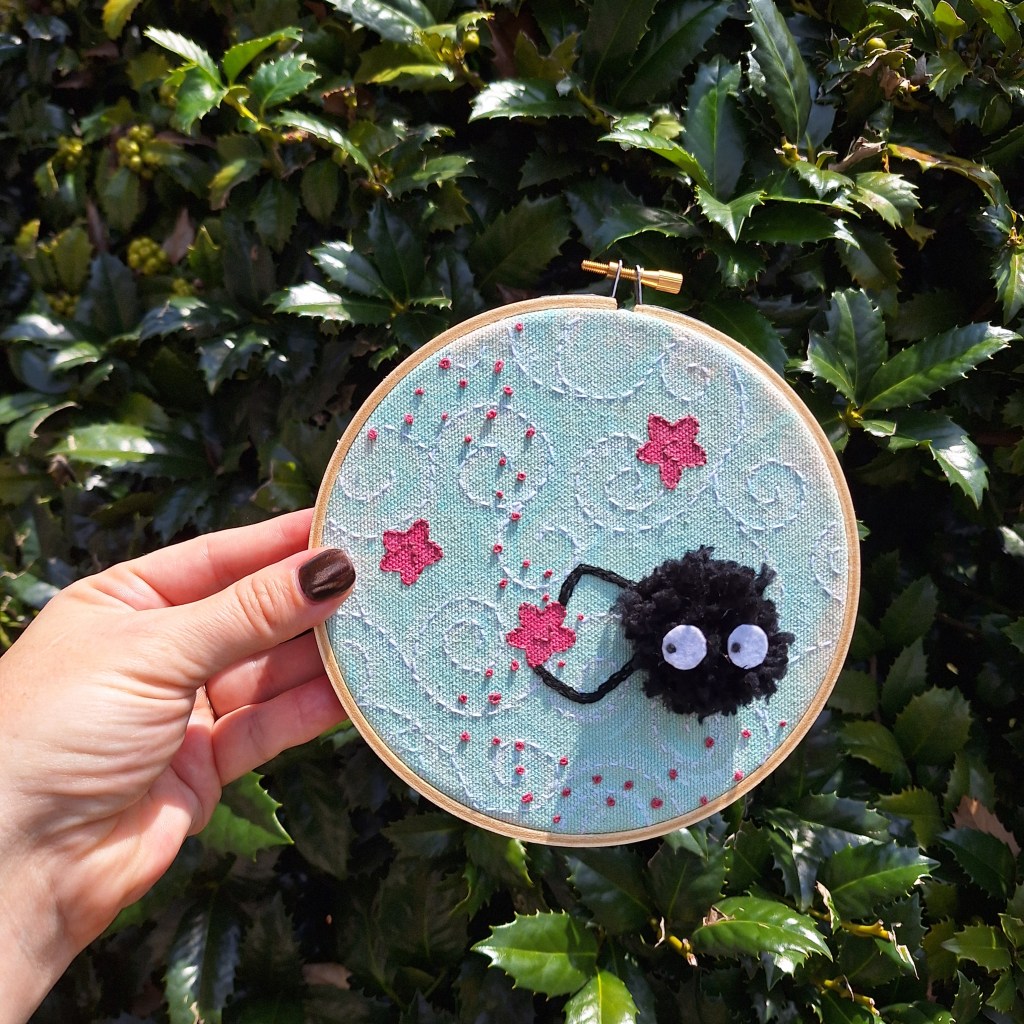
With some leftover turquoise paint from another project, I thought, This calls for soot sprites. Because who doesn’t love a soot sprite? If such people exist, I am so sad for them
I watered down the paint this time, making it easier to apply and way more stitch-friendly. After painting the base, I added our little Ghibli friend, his konpeito candy, and swirling white details inspired by free-motion quilting.
Still, it needed something extra. So, I went back in with paint to highlight the embroidery—giving depth to the swirls and the candy. I was convinced I’d ruin it, but to my surprise, it worked. If I can manage it without a paint catastrophe, you can too.
Celestial Embroidery – Most Recent Attempt
Recently, I came across an artist on Pinterest (Gladys Moreno—she’s amazing!) who uses watercolor backgrounds for embroidery. She’s amazing and her video reels showed a trick she uses: misting the fabric with water before painting. Game. Changer.
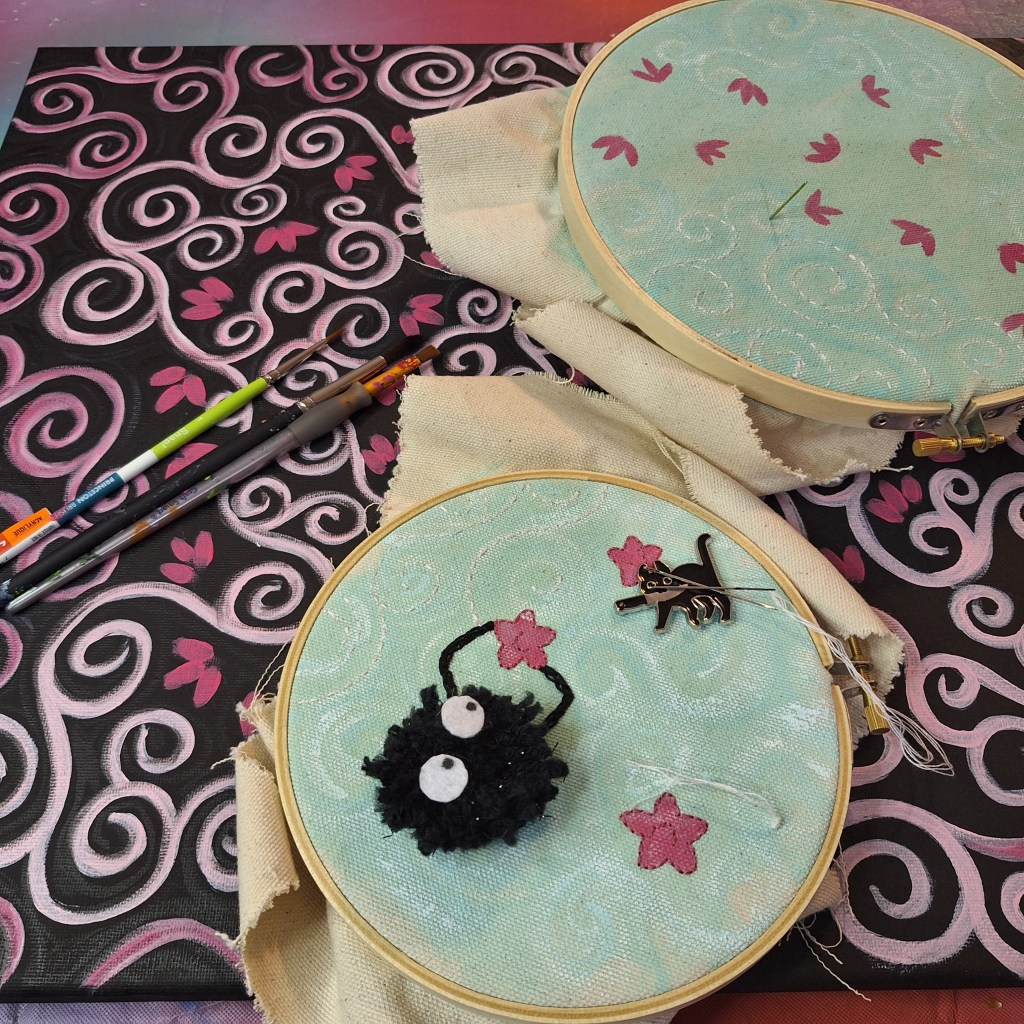
Inspired by her work, I painted some swirling purple backgrounds for lunar-themed embroidery. Watering down the paint and misting the fabric helped it spread smoothly and making only a barely negligible difference in thickness. The result? A whimsigoth piece I’m obsessed with. Bless you, Gladys, you saved me! (Check her out here!)
Also, I found that using watercolor techniques in general work a bit better for this even if you’re using acrylics, like starting lighter and adding darker colors for depth, just go sparingly! You need to be able to get that needle through the layers.
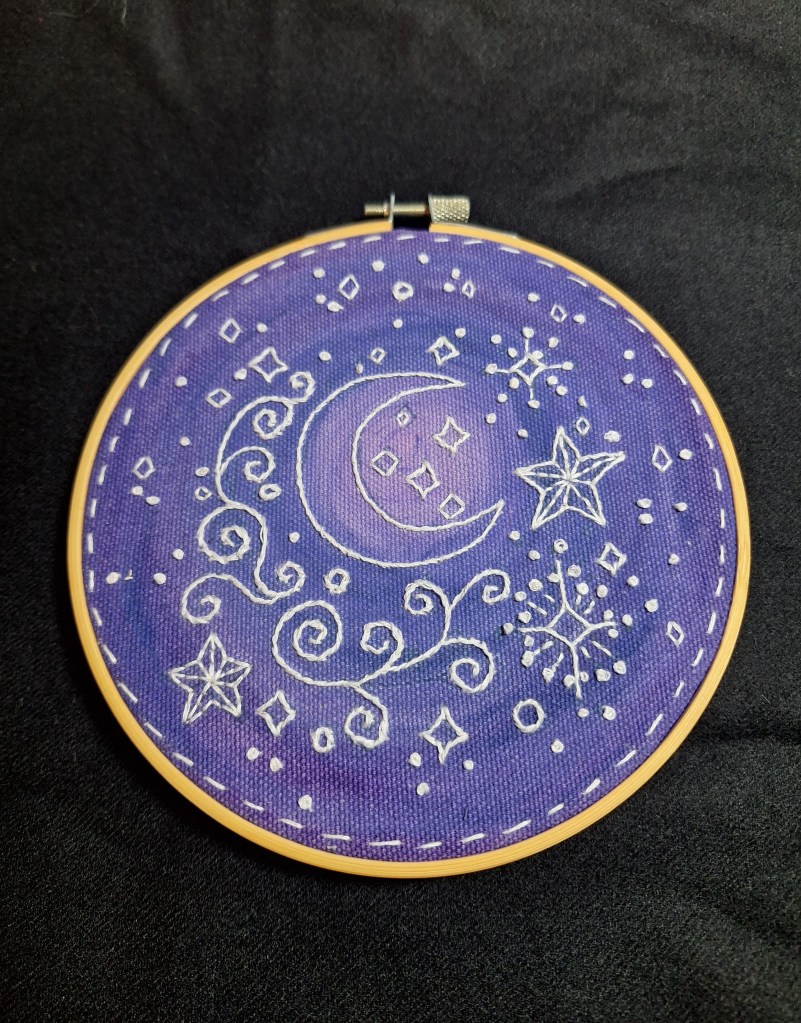
That said, this pattern is also my own design and I realized the spacing was off and ended up overcrowding the design adding stars to try to fix the spacing. I’ve modified the design and am about to test it, so I can turn it into a downloadable pattern. Hopefully, you too you can stitch your own celestial masterpiece!
Tips for Combining Paint and Embroidery
If you’re feeling inspired to try this out, here’s what I’ve learned so far:
- Water it down. Thin paint spreads more easily and keeps the fabric flexible.
- Lightly mist the fabric. A quick spritz of water helps the paint glide smoothly.
- Work light to dark. Start with lighter colors and layer darker ones for more control.
- Patience pays off. Let layers dry completely before adding more paint.
- Use sharp needles. Switching to a fresh needle for each project saves your fingers.
- Add fabric medium. If you’re making something washable, mix fabric medium into your paint to prevent cracking or peeling.
Final Thoughts
I had no clue what I was doing when I started combining paint with embroidery, but figuring it out has been such a fun and creative process. Every piece teaches me something new, and I’m hooked on how much freedom this technique offers.
If you give it a try, I’d love to see your creations! Share them with me on Facebook or Bluesky. Let’s keep experimenting together!
Happy stitching and painting,


Leave a comment